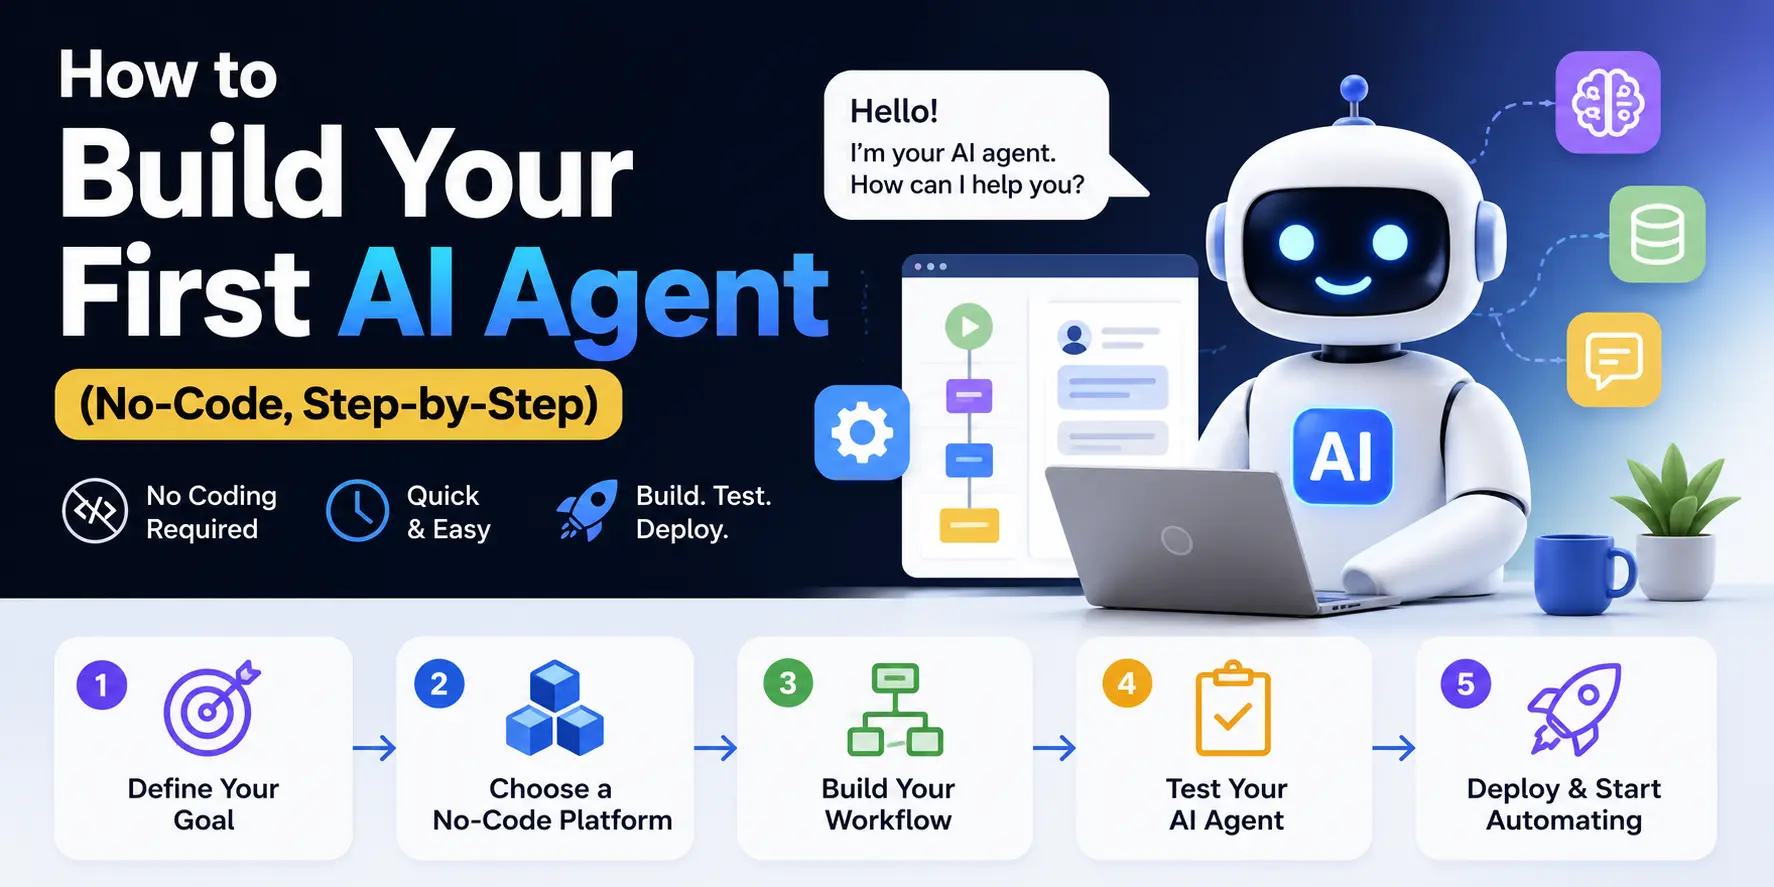
How to Build Your First AI Agent (No-Code, Step-by-Step)
Quick answer: You can build a working AI agent today without writing a single line of code, using a visual, no-code platform (like Zapier's agent builder, n8n, or Lindy). This tutorial explains how to build an AI agent step by step — from picking a tool to testing your first agent — using a real example: a customer-inquiry response agent.
If you've read our explainer on what an AI agent actually is, this is the hands-on follow-up: the actual build.
What you'll build in this tutorial
By the end, you'll have a working AI agent that can:
- Receive an incoming customer question (via email or a form)
- Check it against your FAQ or product information
- Draft a reply automatically
- Either send the reply directly or flag it for human approval first
This is a genuinely useful starting project — it's simple enough to build in under an hour, but it touches every core building block (trigger, reasoning step, data source, action) you'll reuse in every AI agent you build after this one.
Step 0: Pick a no-code tool
Before you learn how to build an AI agent step by step, the first real decision is which tool to build it in. You don't need to evaluate every option — for a first agent, pick based on what you already use day-to-day.
For this walkthrough, we'll use Zapier's agent builder as the example, since most beginners already have some familiarity with it. One honest note on cost: Zapier's free plan is limited in tasks and steps, and multi-step Zaps (the agent we're building here has four steps) typically require at least the Professional plan — with Zapier Agents itself billed as a separate add-on with its own quota. Pricing structures like this change often.
Check Zapier's official pricing page directly before committing, since these tiers change often. The same core steps apply almost identically in n8n, Lindy, or MindStudio — only the interface (and pricing) changes.
Step 1: Set up your trigger
Every agent starts with a trigger — the event that wakes it up.
- Create a new agent/workflow in your chosen tool
- Choose your trigger source. For our example: "New email received" (connected to a support inbox) or "New form submission" (if customers submit questions through a contact form)
- Test the trigger with a sample email or form entry to confirm it's capturing the right fields (sender, subject, message body)
Common beginner mistake here: picking a trigger that fires too often (like "any new email") instead of a filtered one (like "emails containing the word 'help' or sent to support@"). Filter early — it saves cleanup work later.
Step 2: Give the agent something to reason with
This is the step that makes it an agent rather than a simple automation — connect an AI model to read the incoming message and decide what to do with it.
- Add an "AI step" (most tools label this clearly — e.g., "AI Action" or "Add AI Agent")
- Choose your underlying model (GPT, Claude, or Gemini — most no-code tools let you pick)
- Write a system instruction, for example:
"You are a customer support assistant. Read the customer's message. If it's a simple question you can answer using the provided FAQ document, draft a reply. If it's a complaint, refund request, or anything you're not confident about, do not draft a reply — instead, flag it for human review."
Writing a clear, specific instruction like this is itself a skill worth practicing — see our prompt engineering guide for beginners if you want to get more deliberate about how you phrase these instructions. -
Connect your FAQ or product document as a knowledge source, if your tool supports it (this is a lightweight form of retrieval, similar in spirit to RAG — see our RAG explainer if you want to understand what's happening underneath).
Common beginner mistake here: writing a vague instruction like "answer the customer's question." Be specific about what the agent should and shouldn't handle — the more precisely you define its boundaries, the fewer embarrassing mistakes it'll make once it's live.
Step 3: Add a decision/branch step
A real agent doesn't just respond — it decides how to respond based on what it finds.
- Add a conditional/branch step after the AI step
- Set the condition based on the AI's own output — for example, if the AI step outputs a confidence label or a category ("simple query" vs. "needs human"), branch accordingly
- Route "simple query" responses toward auto-sending, and route "needs human" responses toward a notification step instead (like a Slack message or an email to your team)
This branch step is what separates an AI agent from a basic chatbot: it's making a decision about its own next action, not just generating text.
Step 4: Connect the final action
- For auto-approved replies: connect an "email reply" or "send message" action, using the AI-drafted text as the message body
- For flagged replies: connect a notification action (Slack, email, or a task in your project tool) so a human reviews before anything is sent
Step 5: Test with real (or realistic) examples
Before turning this live:
- Run it against 5–10 real past customer emails, one at a time
- Check: did it draft an accurate reply? Did it correctly flag the ones it shouldn't auto-handle?
- Adjust your Step 2 instructions based on what you see — this is normal. Almost no agent works perfectly on the first test.
Step 6: Turn it on — with a safety net
For your first two weeks, keep every reply routed through the "needs human approval" branch, even the ones the agent is confident about. Review what it drafts before it sends anything automatically. Once you've reviewed enough replies to trust its judgment on the simple cases, allow those to auto-send while complex ones still route to a human.
Common Mistakes First-Time Builders Make
- Trying to make one agent do everything. A first agent that handles support, sales, and internal questions all at once is harder to test and more likely to fail quietly. Start narrow — one clear job, done well.
- Skipping the branch/decision step. Without it, you've built an automation that always responds the same way, not an agent that adapts based on what it encounters.
- Not testing against real messy examples. Clean example inputs make everything look like it works. Real customer messages are typos, half-sentences, and unrelated attachments — test with those before going live.
- No human-review stage at launch. Even experienced teams keep a review step for the first few weeks of any new agent. Skipping this is the single most common way beginners end up with an embarrassing public mistake.
Why this skill matters beyond this one project
Learning how to build an AI agent teaches you the four building blocks — trigger, reasoning step, decision branch, action — that show up in almost every AI agent you'll ever build, no matter how complex. A customer-support agent, a lead-qualification agent, and a research-summarization agent all use this exact same skeleton; only the specific steps inside change.
This is also, increasingly, the actual bar for "AI skills" in hiring conversations. Being able to describe what an agent is no longer stands out much — being able to point to one you've actually built and explain the decisions you made while building it does. Structured programs, like DizitalAdda's Diploma in GenAI & Prompt Engineering, build this project-by-project rather than leaving it to trial and error — but the honest starting point for anyone is exactly what this tutorial just walked through: build one small, working agent, end to end.
Frequently Asked Questions
Do I need to know how to code to build an AI agent?
No. No-code platforms like Zapier, n8n, Lindy, and MindStudio let you build a fully functional AI agent using visual, drag-and-drop workflows. Coding knowledge becomes useful later if you want more custom logic, but it's not required to build a working first agent.
What's the difference between an AI agent and a chatbot?
A chatbot typically responds to a single message within a conversation. An AI agent can take a goal, make decisions about what to do next, use multiple tools or data sources, and complete a multi-step task with minimal human input — the branch/decision step in this tutorial is what makes that possible. For a deeper breakdown, see our guide to what an AI agent actually is.
How long does it take to learn how to build an AI agent for the first time?
A simple agent like the one in this tutorial — trigger, AI reasoning step, decision branch, action — typically takes under an hour to set up in a no-code tool, though testing and refining the instructions usually takes longer than the initial build.
Is a no-code AI agent good enough for real business use, or do I need a developer eventually?
No-code agents are genuinely production-capable for well-defined, narrow tasks — many businesses run real customer support, lead-qualification, and internal workflows entirely on no-code platforms. You'd typically only need a developer for highly custom logic, very large scale, or integrating systems that don't have existing no-code connectors.
What should I build after my first agent?
Once you're comfortable with the trigger → reasoning → decision → action pattern, a natural next step is a multi-agent workflow, where two or more specialized agents hand tasks off to each other — for example, one agent that drafts responses and a separate one that reviews them for tone and accuracy before sending. Our AI & Generative AI glossary is a useful reference as you run into new terms along the way.